Let’s Make Danish
Danish is one of the big three laminated doughs along with croissant and puff pastry. We have talked about croissants in a previous post. So far, I have only talked about yeast doughs so we have not gotten to puff pastry yet because it does not have yeast. But like croissant, Danish has yeast, milk, some sugar and salt. But there are some interesting differences between the two doughs. Danish also has eggs, lemon and orange zest and some spice. There’s no butter in the dough but just in the beurrage. Many operations just make croissant dough and use it for Danish. But my teacher back in culinary school taught us this one. I think it makes a big difference in the flavor and texture. It was Chef Carl Jerome, the chef I previously mentioned in my croissant post, who taught us this dough. His innovation was the lemon and orange zest. I have not seen any other formulas with that in the detrempe. One thing that most Danish doughs have is cardamom, a spice often used in Scandinavian and middle Eastern cooking. It is supposed that Scandinavia is heavily influenced by Middle Eastern cuisine. Scandinavians consume more cardamom than any other region on Earth. It’s a very strong spice so only a bit is needed. Even if you like it, you may want to limit the usage. It can overpower a dish very easily.
What are the basic ingredients?
Detrempe
Bread flour 50% 250g
Cake flour 50% 250g
Instant yeast 2% 10g
Kosher salt 2% 10g
Granulated sugar 9% 45g
Whole Milk 36.5% 182.5g
Eggs 24% 120g
Vanilla extract .5% 2.5g
Ground cardamom .12% .6g
Orange zest 1% 5g
Lemon zest .5% 2.5g
total detrempe weight. 873g
beurrage
Butter 25% of detrempe weight 25% 220g
Egg wash for finishing
What tools will you need?
Stand mixer -recommended as it makes the work easier but it can be done by hand.
2- 1/2 sheet pans
parchment
dough scrapers, flexible and rigid
scale
Tape measure or ruler
pastry brush for egg wash
Honey glaze
Danish fillings of your choice
Mixing Danish
There are many ways to approach the mixing of Danish. I have been known to mix the detrempe and laminate the dough in one day. I then ferment the whole paton of dough overnight, baking the Danish the next day. But you can also make the detrempe and ferment it overnight. You would then laminate on the second day. Either way is fine. See which way fits into your workflow.
Day 1
Scale your ingredients including the butter. (note on butter, see below) It’s a straight dough so put the flours, eggs, yeast, milk, lemon and orange zests, cardamom and salt in the mixer and mix on slow speed for about 4 minutes. You should have a dough that has come together but still needs development. Mix it another 4 minutes at a higher speed. It should form an elastic dough. I like to leave the dough covered in the bowl for about an hour for fermentation. After that time, I place the dough in a covered container for overnight cold fermentation. I use ziplock bags but a covered box or bowl will do as well.
A note on butter:
“I like to use a good quality European butter. I used Finlandia for this batch but I have used Kerry Gold, Danish butter, Italian butter. My favorite is President butter from France. It has the most sweet beautiful flavor. It’s worth it to invest in some good butter when you are making brioche much like croissants and Danish. It improves the texture, flavor, color and handling aspects of the dough. Remember butter is 25% of your dough. ”
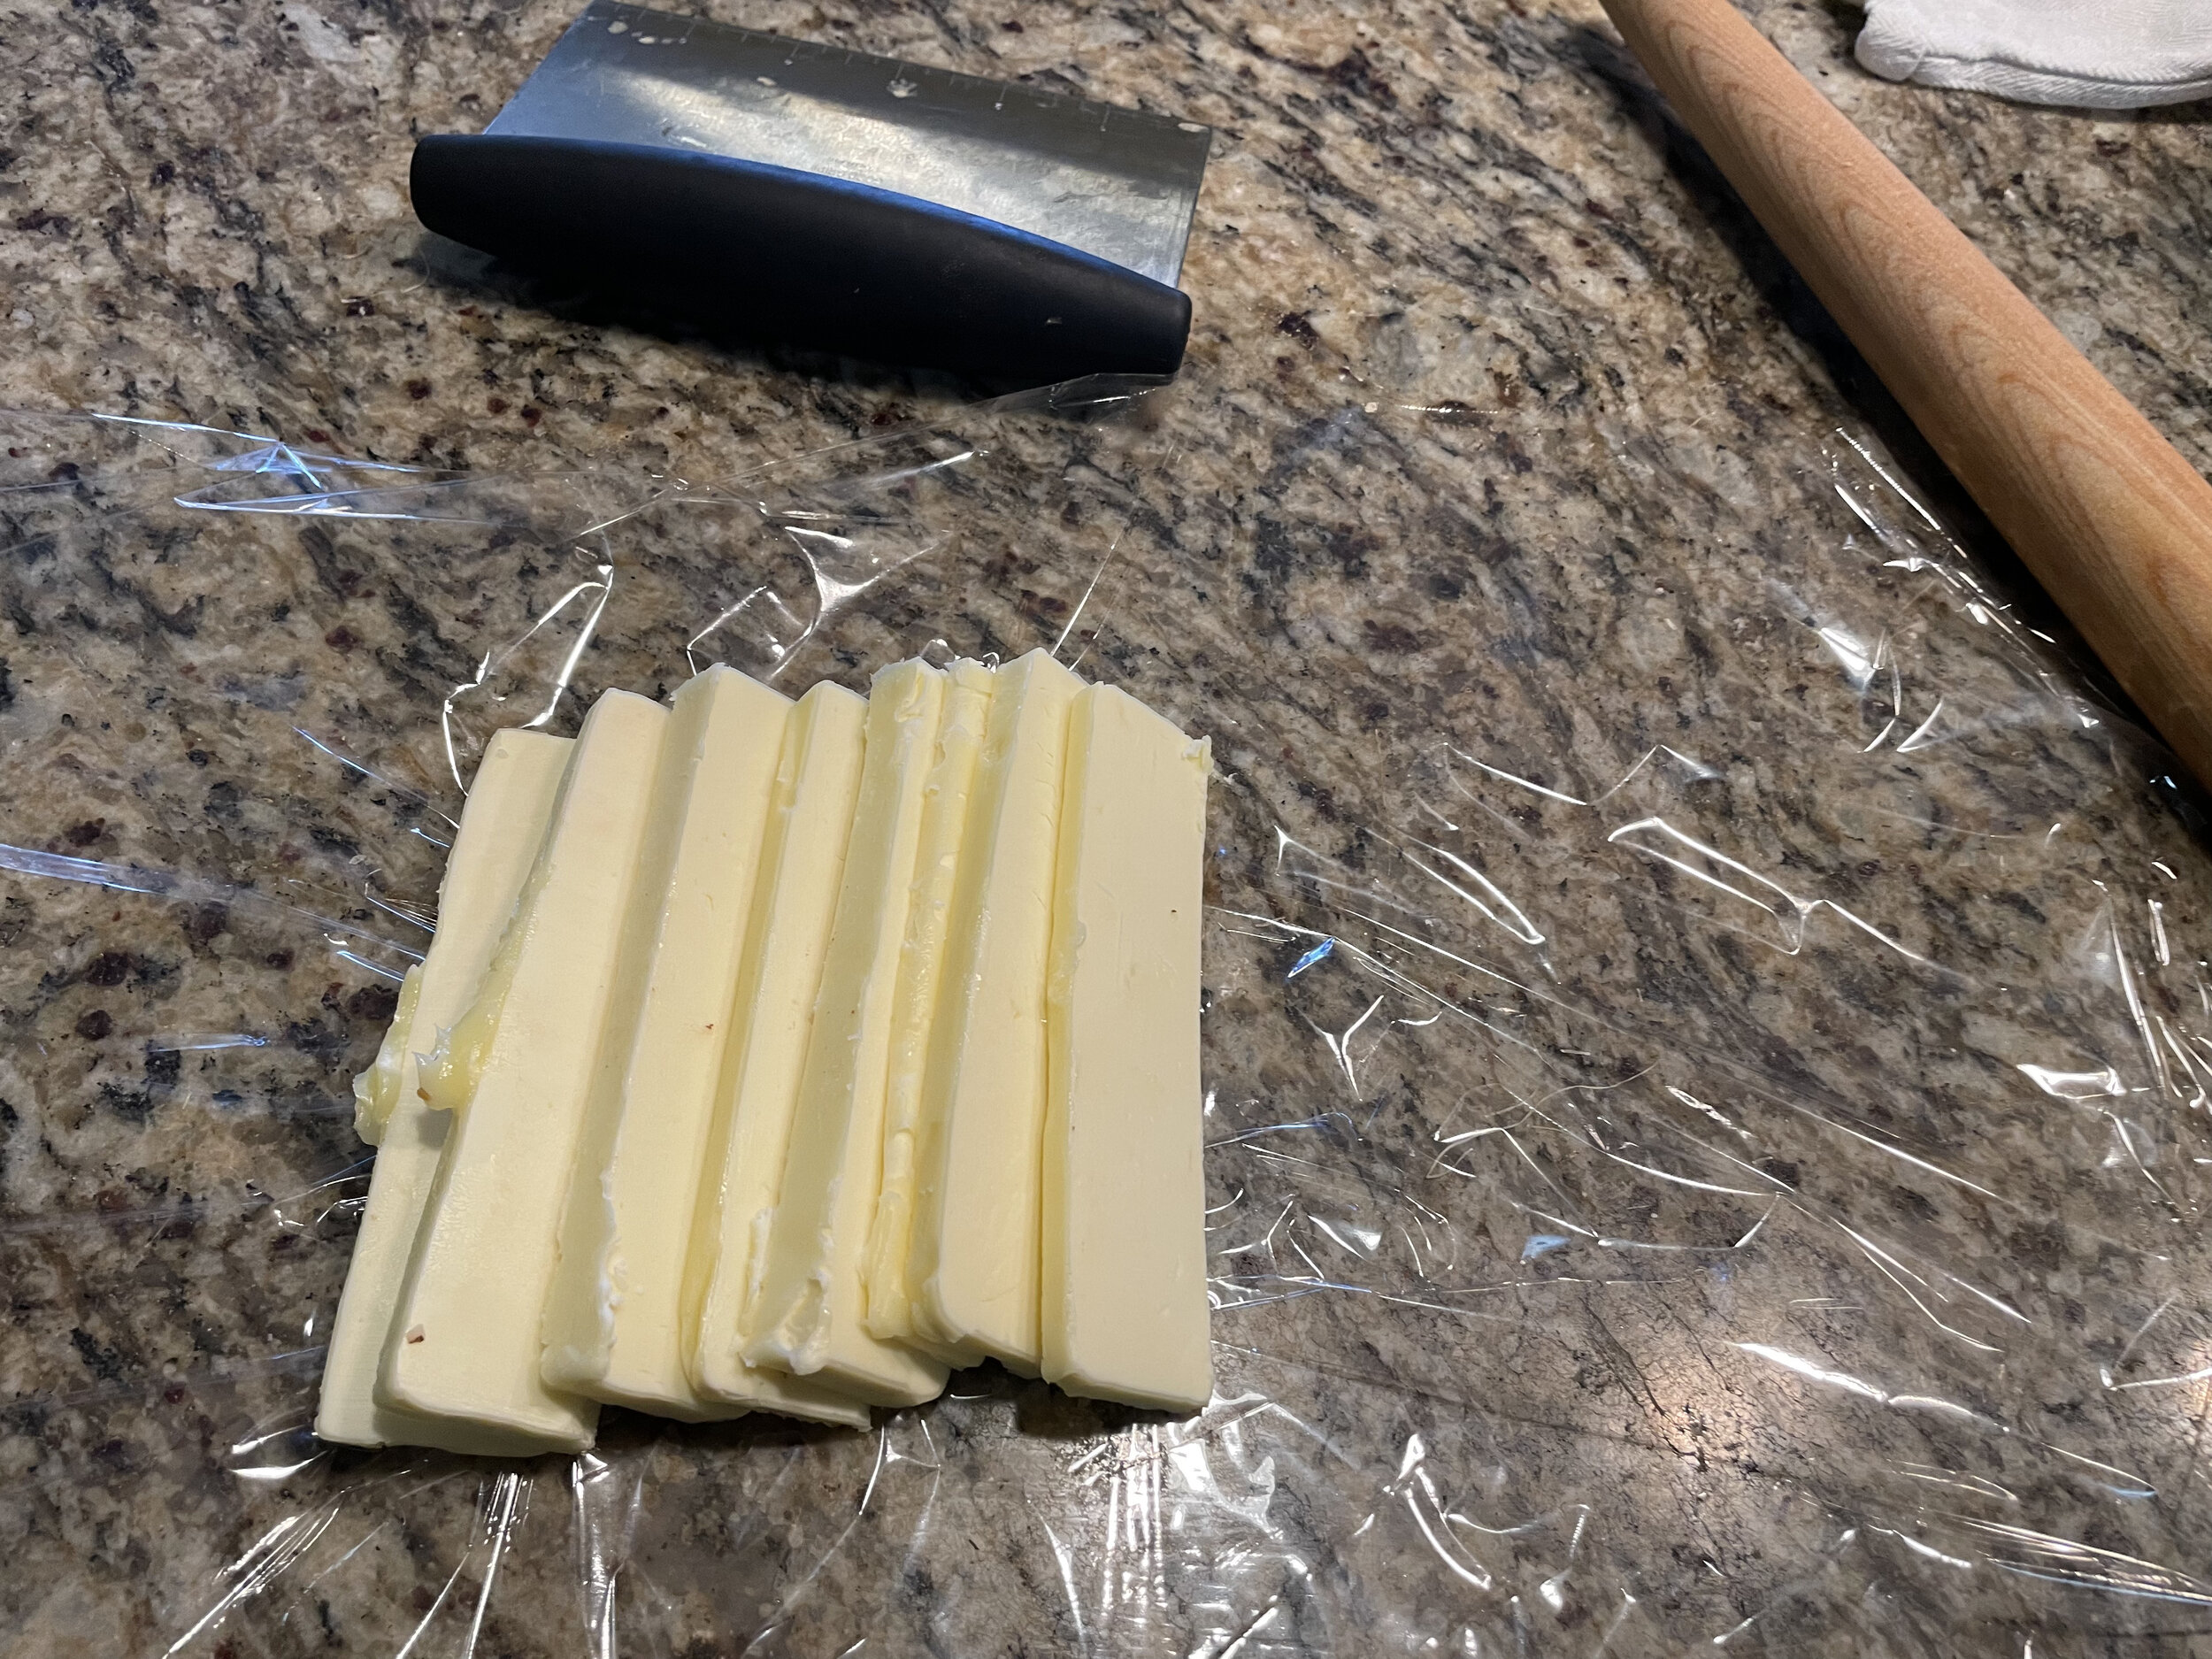
To work on the butter, cut the sticks in planks. Arrange the planks so they overlap a bit. To get ready for pounding the butter, cut a piece of plastic wrap roughly double the size of the butter planks. The butter should be in a square shape. Pound the butter to soften it. Try to get the butter block to about 6 inches square. It should be about ¼ inch thick. You may need to use a dough scraper to cut the butter into a square. Once you have an even square that is flat, place the butter block in the refrigerator.
Day 2
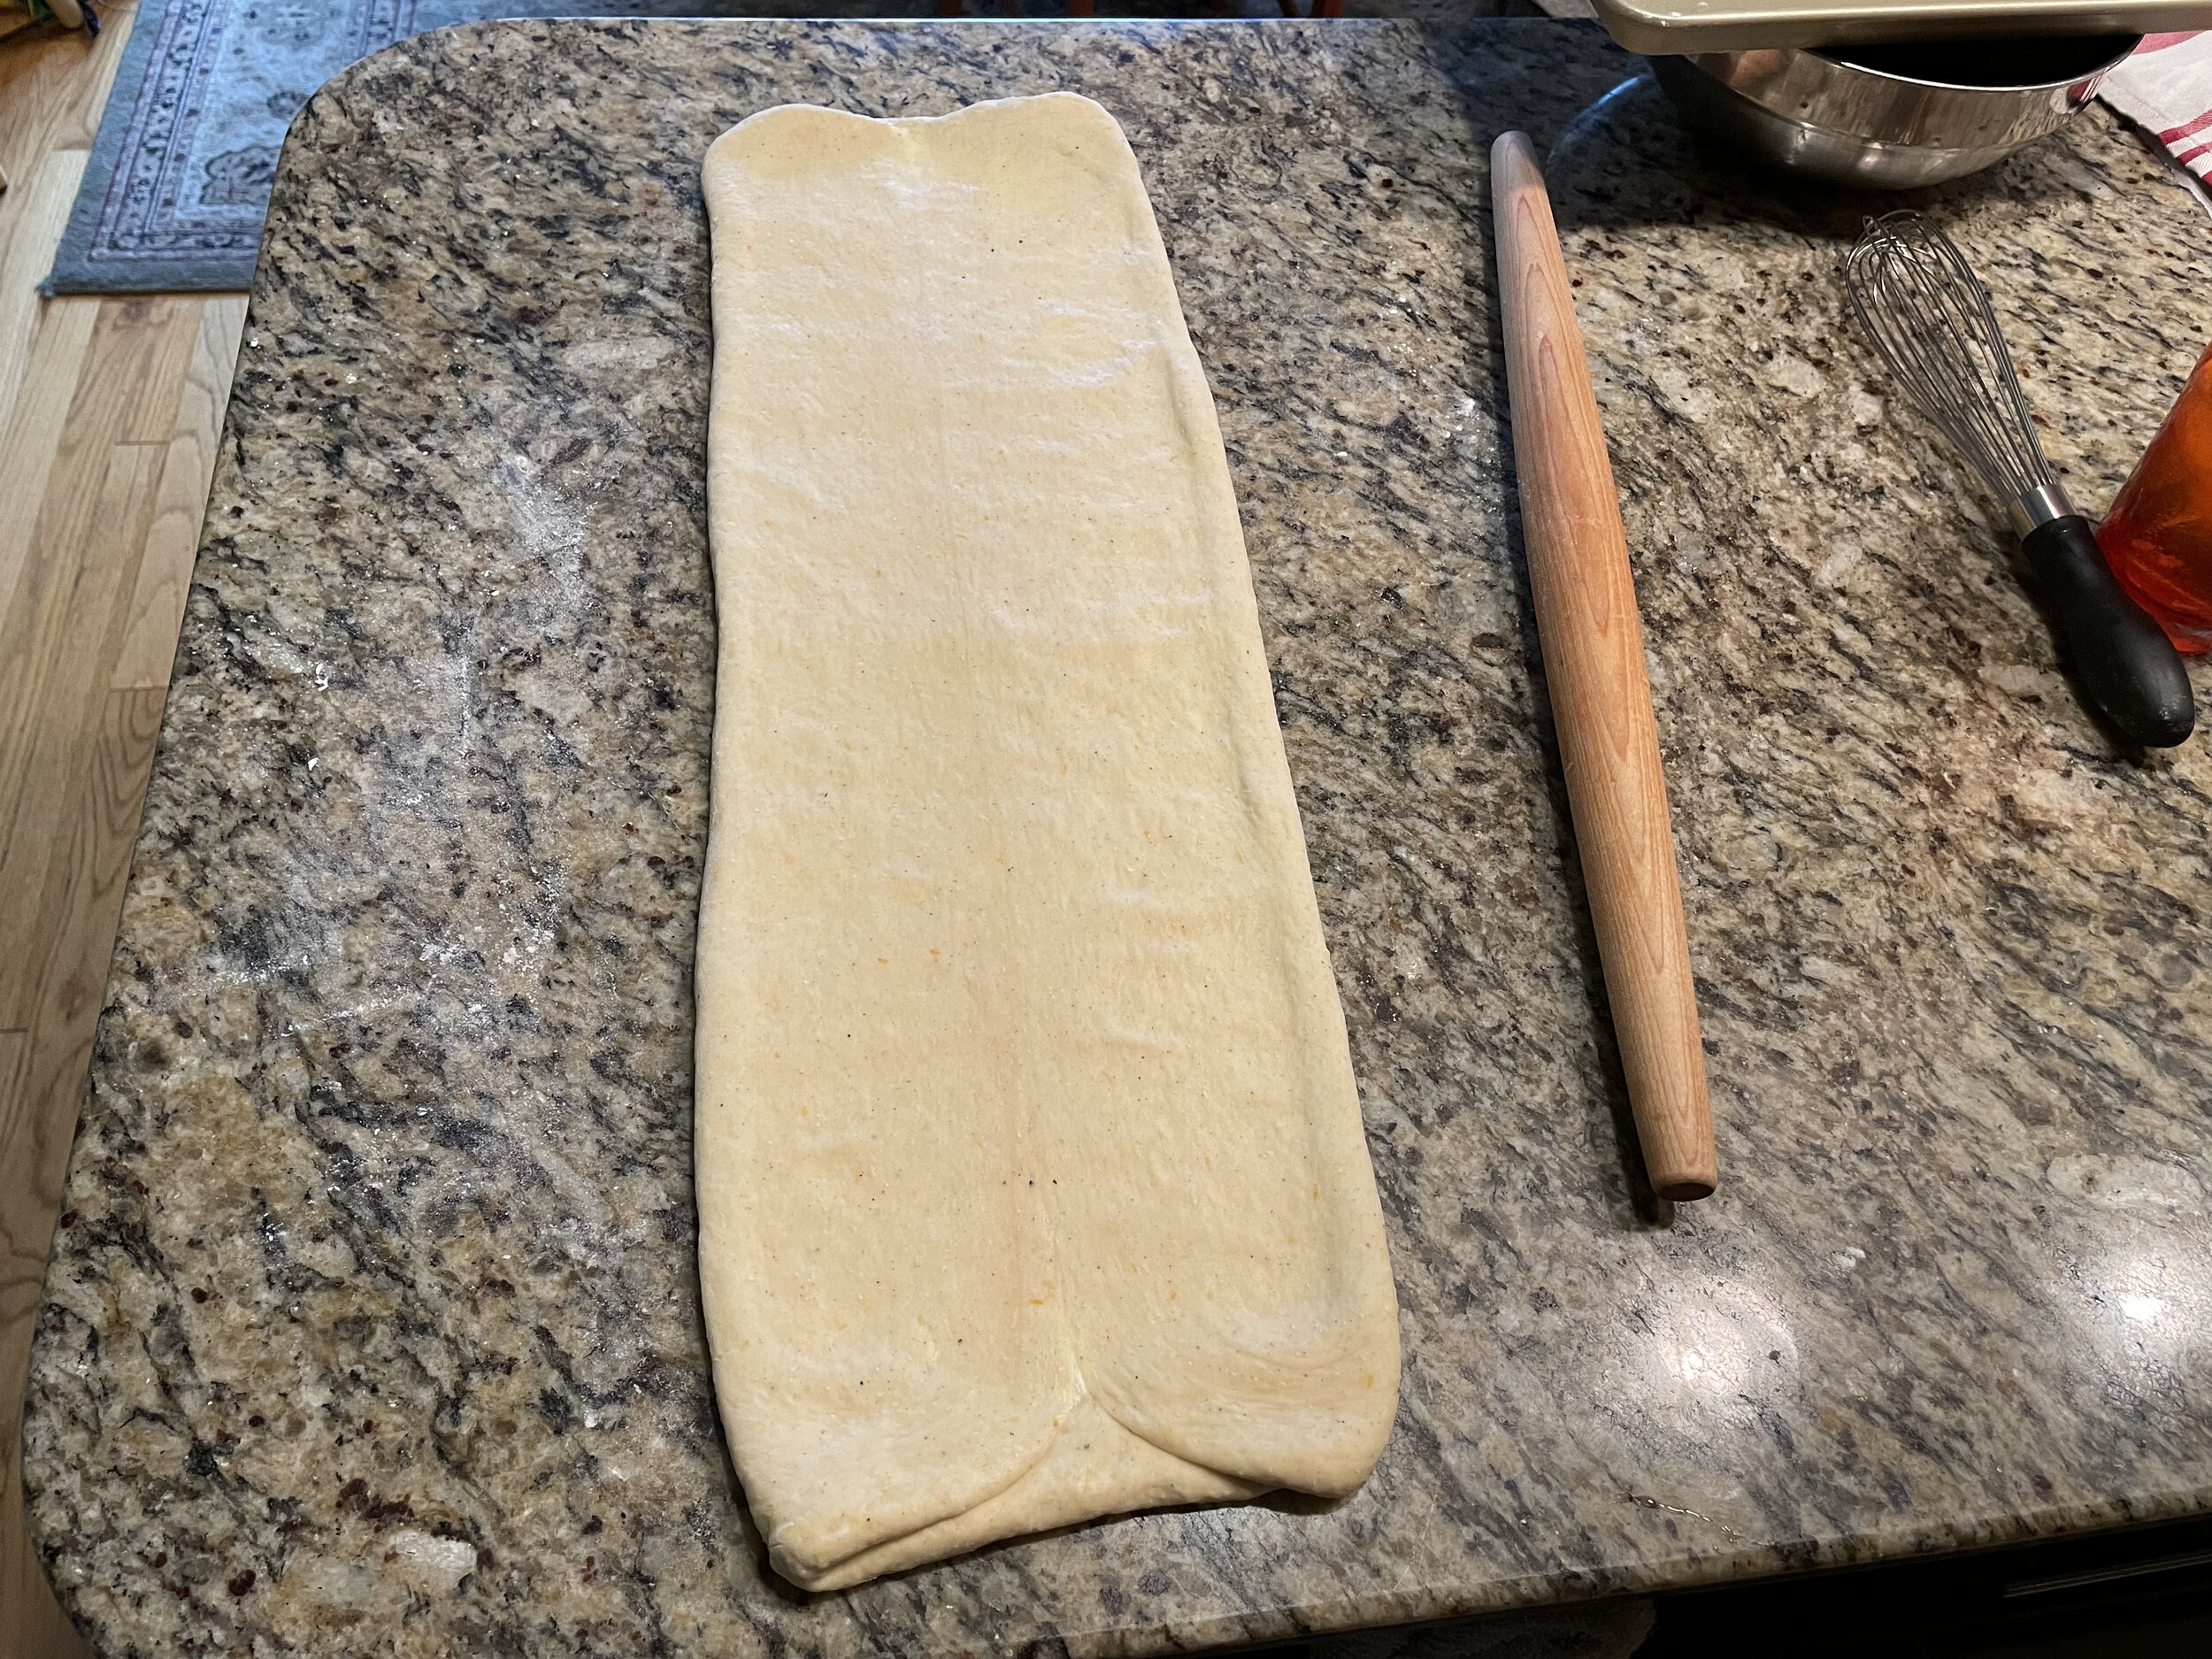
Remove the dough and the butter block from the refrigerator and take the dough out of its container. Cover it with a towel or some plastic. After about 5 minutes rest, roll the dough to about 12-13 inches by 6 inches. You want the detrempe to be twice as long as the butter block. The other key consideration is that the detrempe should be the same consistency as the beurrage. This does not mean the same temperature. But the butter should be pliable and bendable. The dough should be firm but pliable as well. You can refer back to the instructions I gave for incorporating butter in croissants for another angle. It’s a very similar process. The only difference is that I do four turns instead of three. The Danish dough is a little softer and can be rolled out a little easier. You can do two turns in succession and give the dough 20 minutes rest in the refrigerator. This will firm up the butter and the dough. After the rest, you can do two more turns. Then place the dough back in the refrigerator for an hour.
During this time you might want to think about fillings for the Danish. You can just use jam or jelly if you want. But I love almond cream. There’s a link to some filling formulas in the box to the right. You can use pastry cream, chocolate or a cream cheese filling. It’s up to you. Fresh fruit is fine but canned fruit is just as good when it comes to Danish. For instance, on a Danish snail, the round Danish shape, you might have almond cream in the center with a ½ apricot in the middle. I used frozen blueberries on mine. You don’t need to over do the fillings. But try to have something in mind. Plain Danish are just not usually done. There’s always some filling.
Take the dough out of the refrigerator and give it ten minutes on the bench to come back closer to room temperature. Then begin to roll out the dough. Remember the dough is somewhat fragile and has layers of butter and dough. Try not to roll too fast. This will keep the layers intact. Roll in both directions, vertical and horizontal. Give it some rest as you go, bringing your fingers up underneath the dough. Continue to roll to the size of a ½ sheet pan. This might take some time. Be patient and use enough bench flour. It may seem excessive but you don’t want the dough to stick to the bench. Once you reach ½ sheet pan size and the dough is about ¼ inch thick, place the dough in the freezer. It will stay in the freezer for about 30 minutes.
During this rest period you can prepare the finishing elements for the Danishes. You’ll need eggwash, flat icing and a simple glaze. That might seem like a lot of finishing but it’s worth it. The egg wash goes on just before baking. After baking you’ll brush the warm pastries with honey glaze. I just take 30g of honey and boil it with 15g of water. It’s just meant to give a little shine and just a little sweetness. The other finishing is flat icing. Mix 100g powdered sugar with a bit of water and drop of vanilla. I make it pretty stiff. I don’t add much water at all. The vanilla really just sets it up with a bit more flavor.
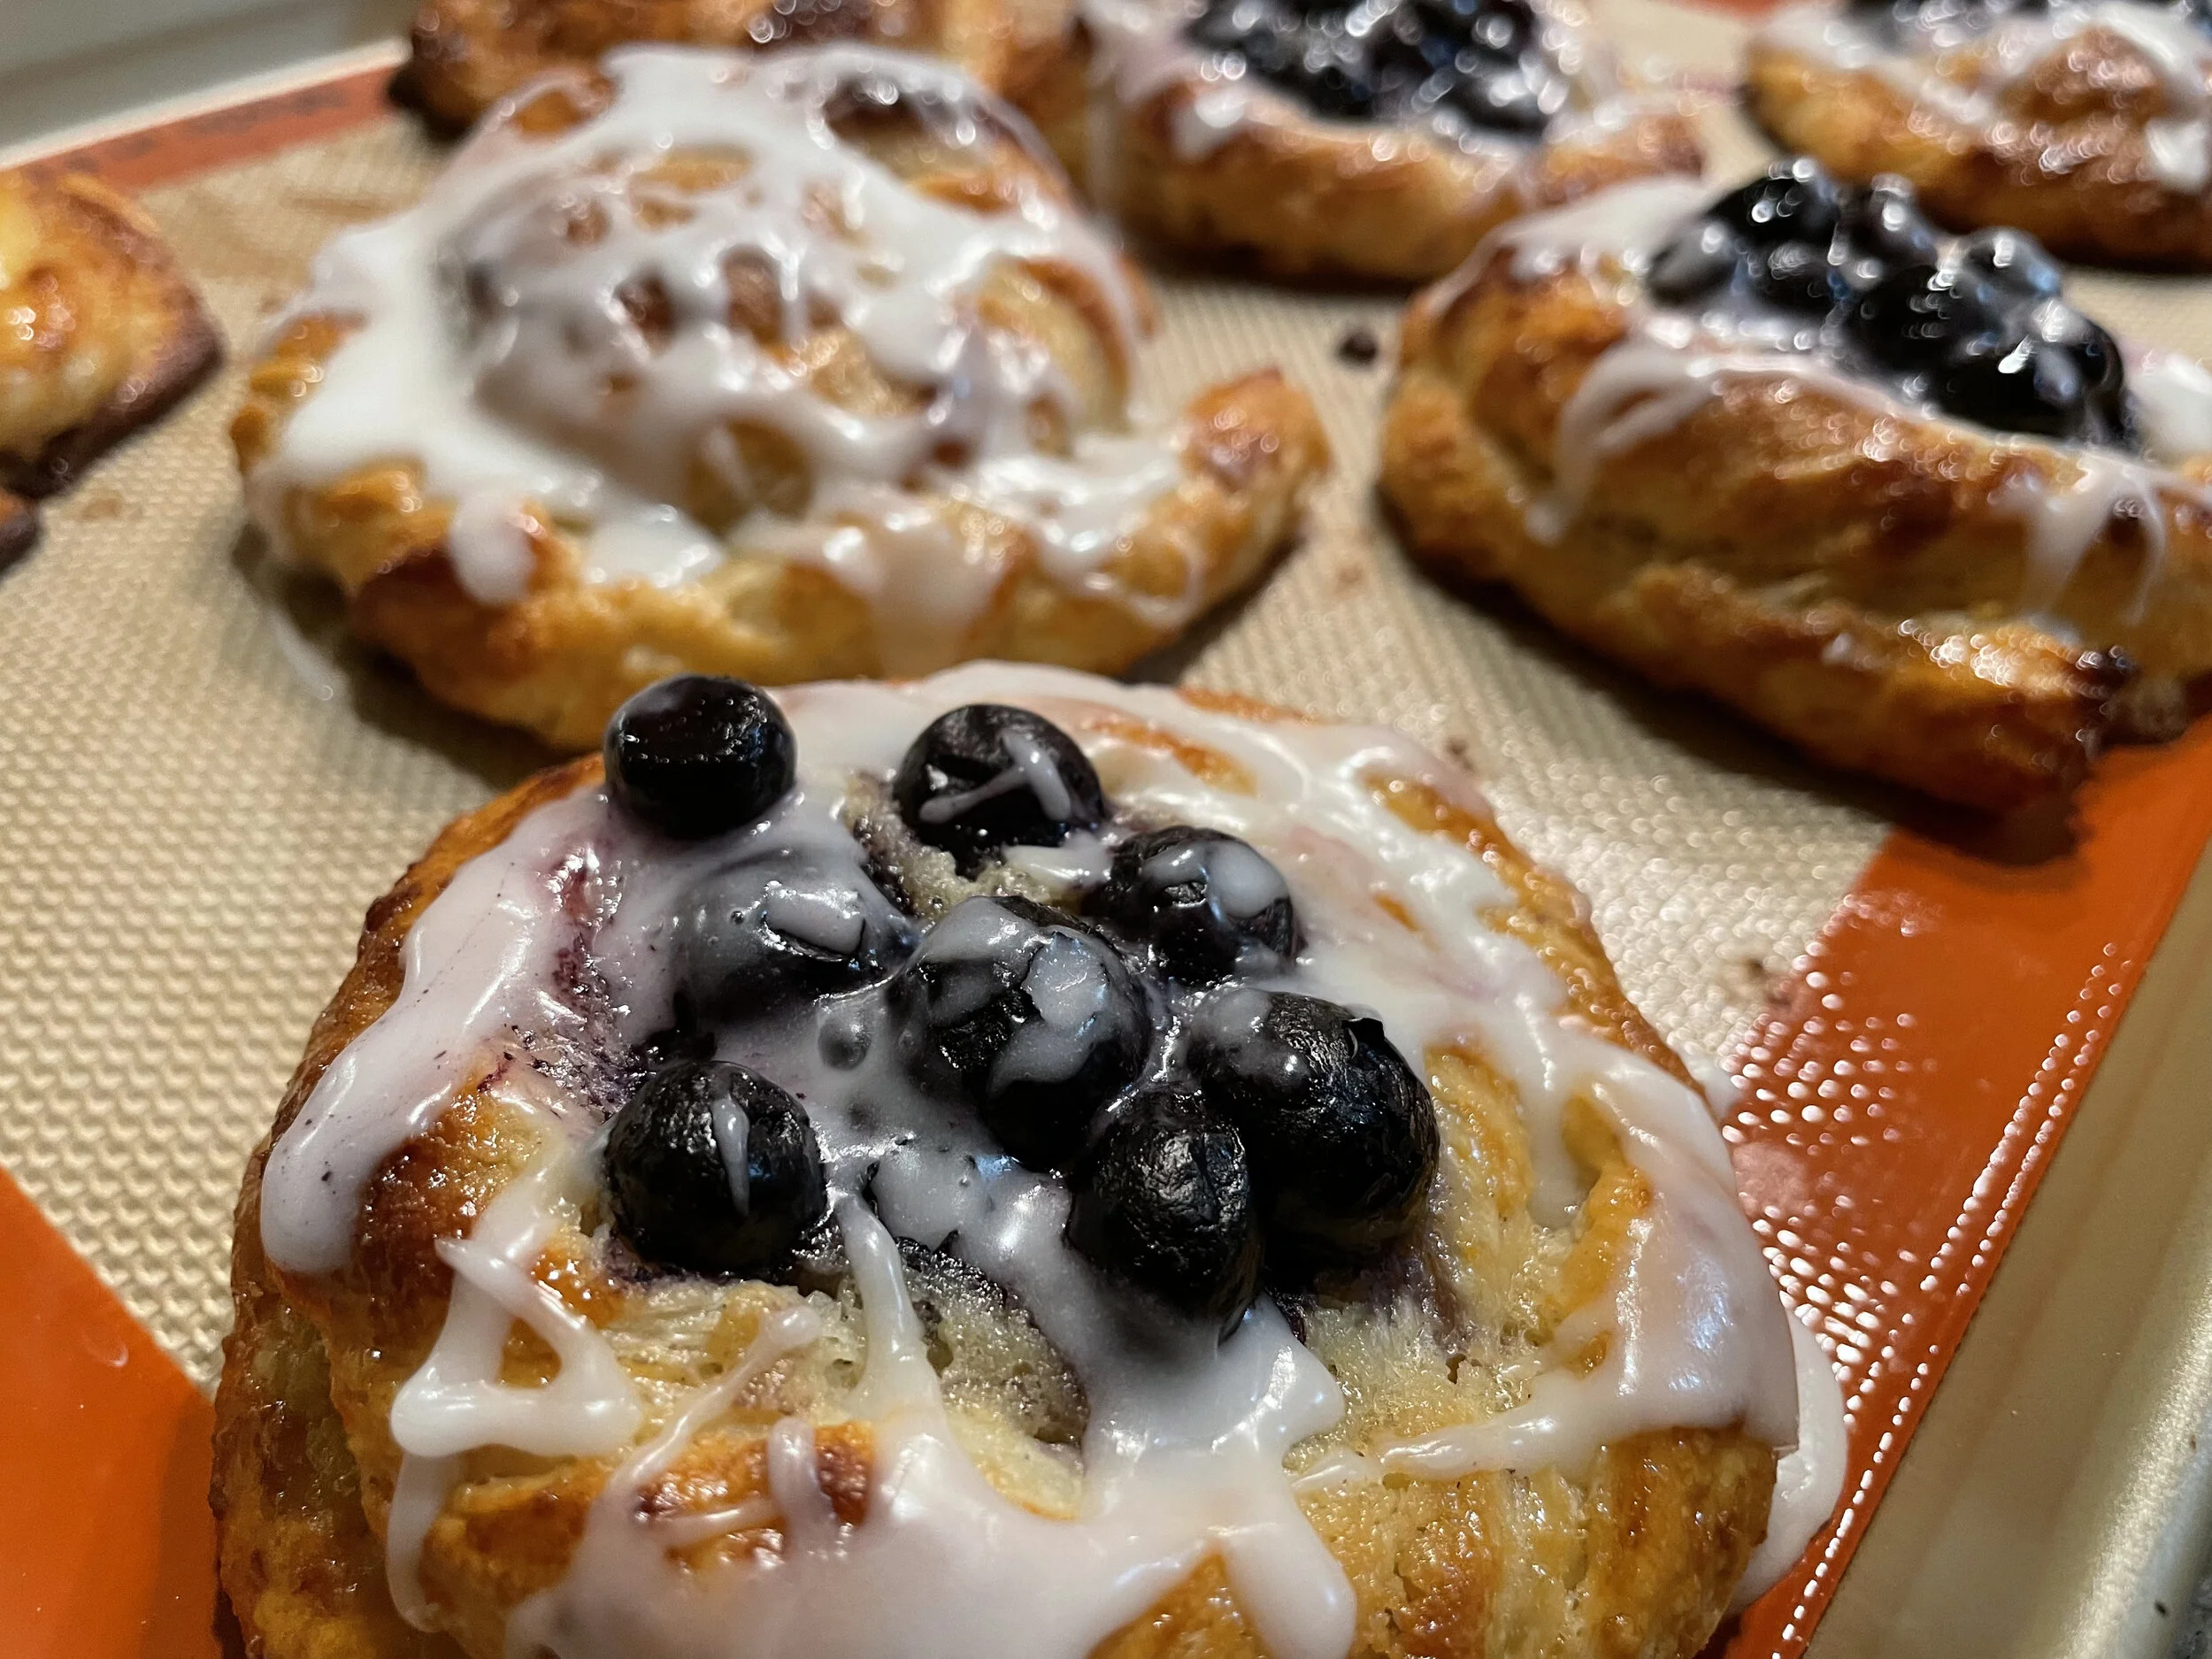
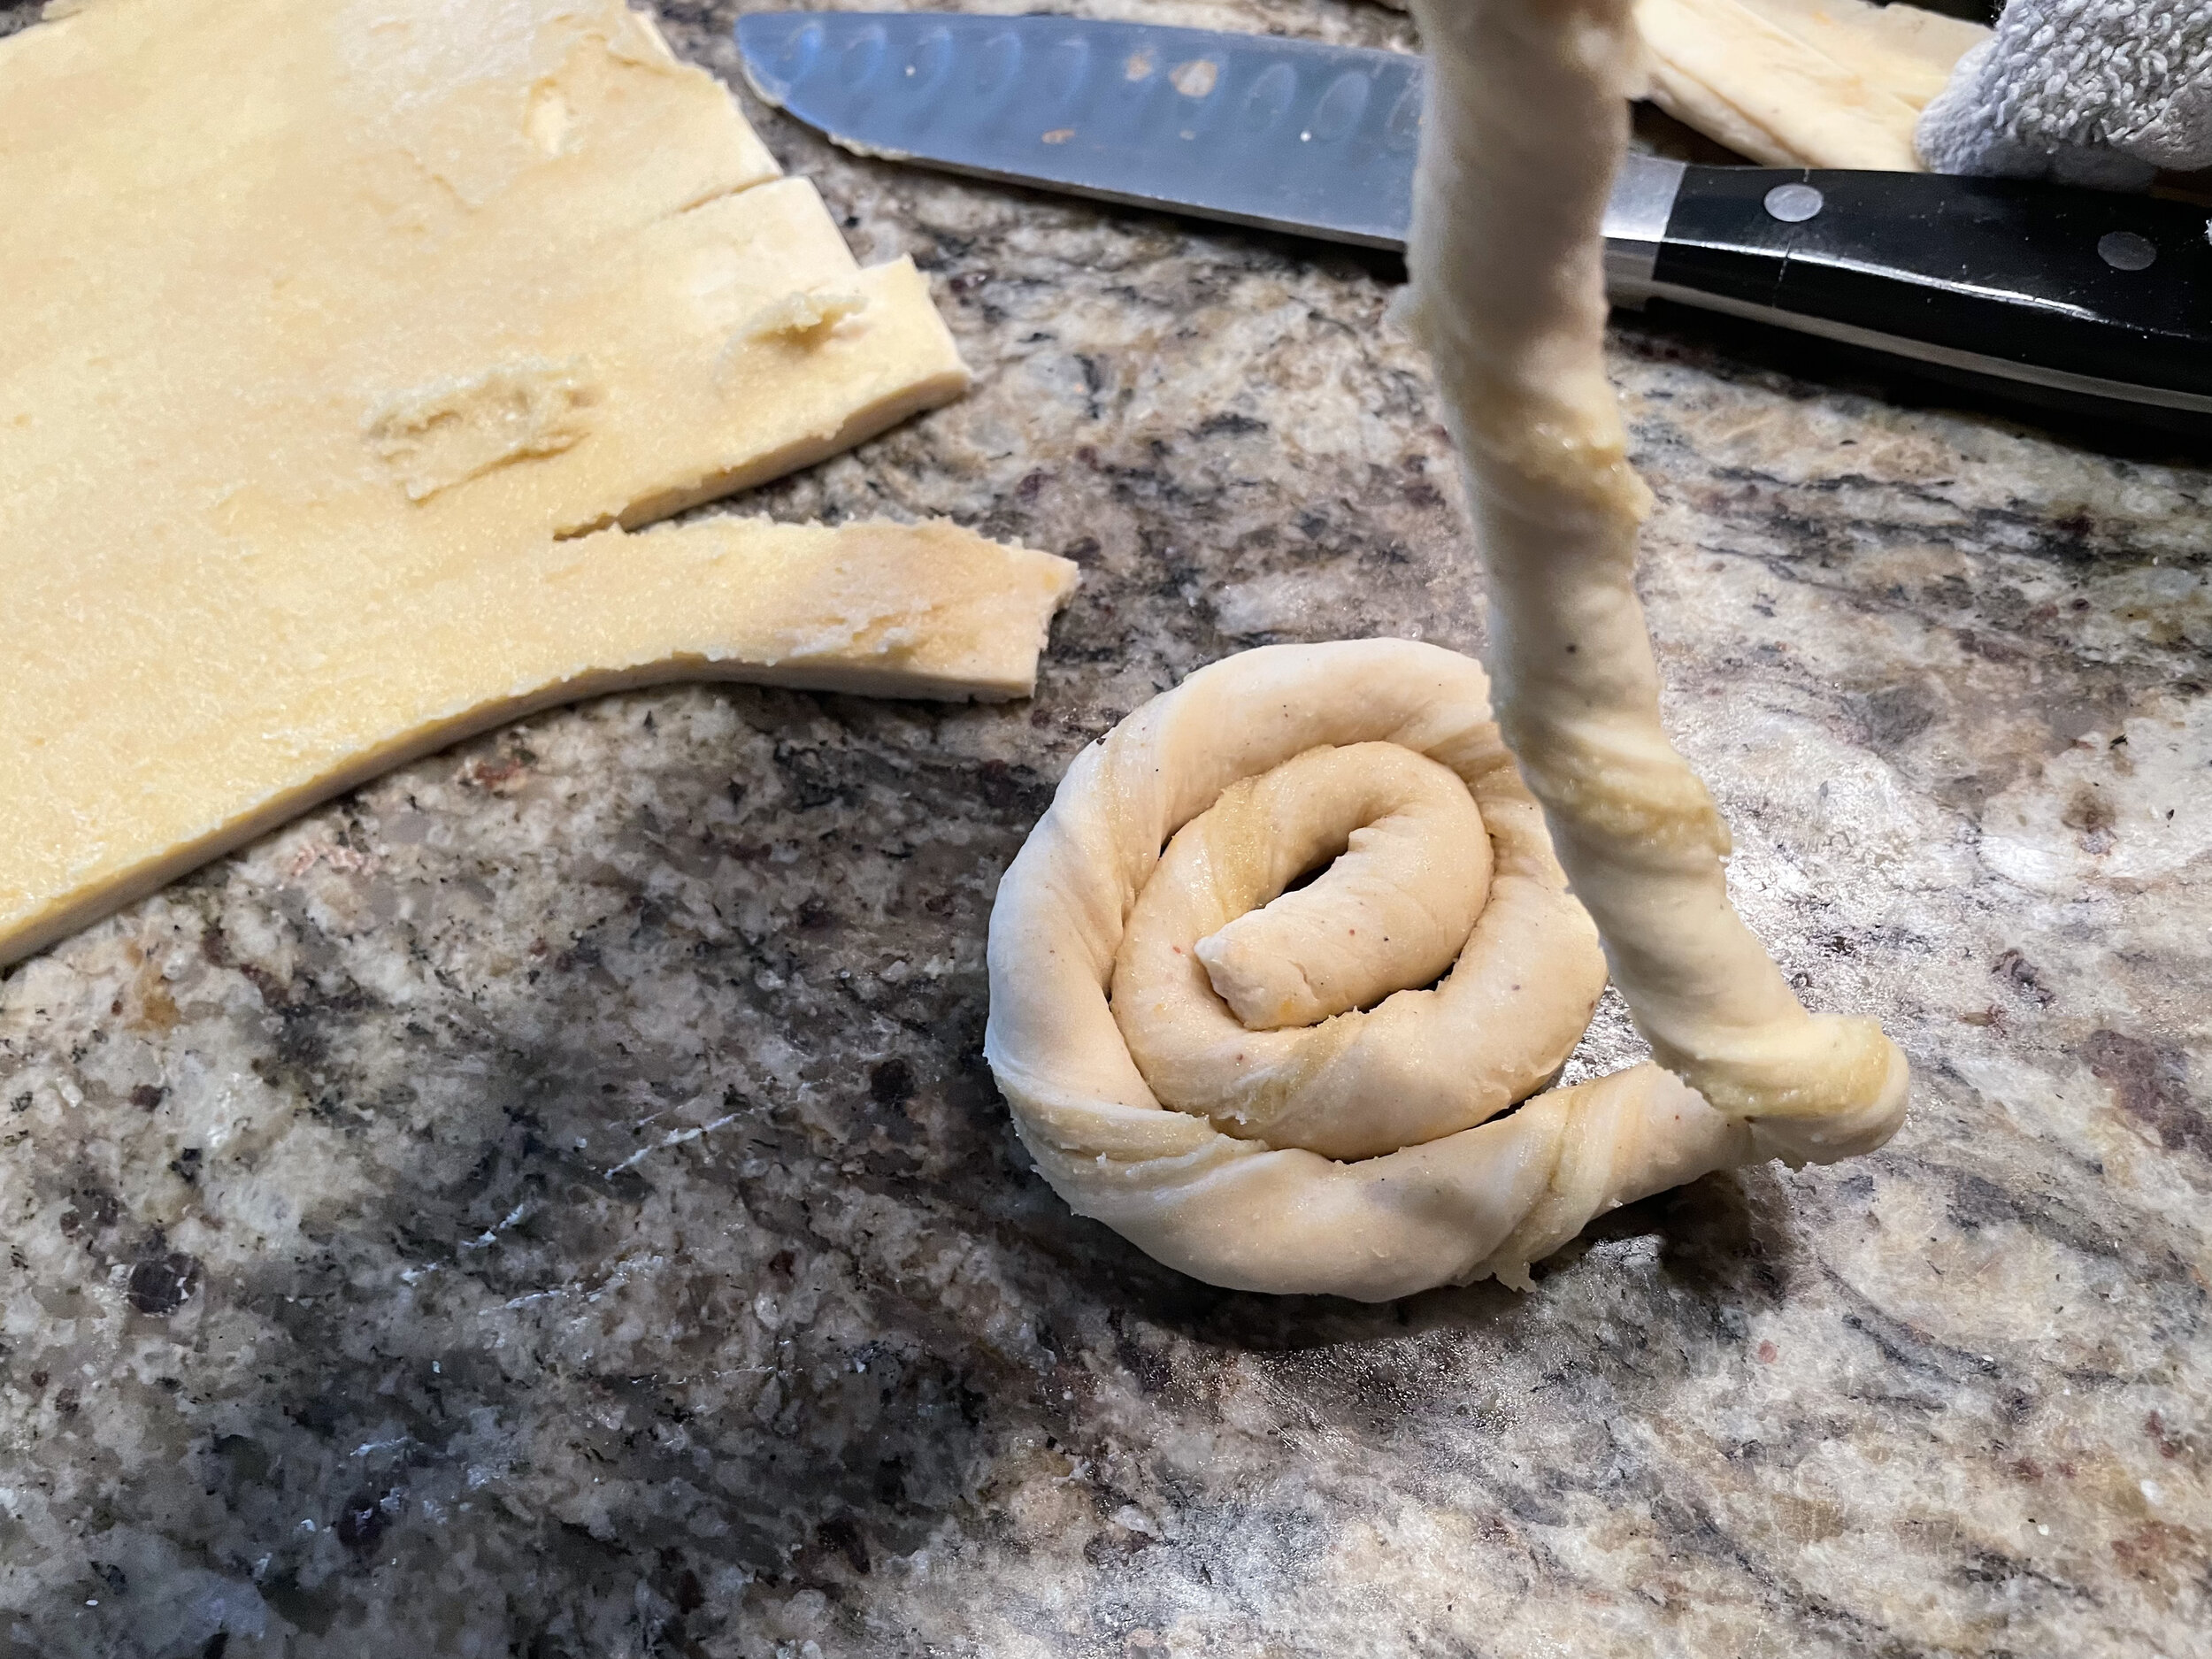
Take the rolled out dough out of the refrigerator and dust off the excess flour that may be on it. Prepare a ½ sheet pan with a silpat or parchment paper. With a sharp knife, cut the edges off of the dough. This sets up the clean cuts we want to be able show our layers of butter and dough. For this batch, I cut 7-1 inch strips of dough about 18-20 inches long. But don’t separate them. These will become the Danish snails. I also cut 3-5 inch squares. They can become pinwheels or turnovers. The shapes are completely up to the baker. I spread almond cream over the cut strips of dough. Since they have not been separated, you can spread the almond cream evenly. For assembly, take one of the strips spread with almond cream and fold it in half lengthwise, encasing the almond cream. Twist the strip with your hands, right hand twists up and the left hand twists down. Then coil the twisted strip around itself. Tuck the end of the strip under the pastry. Place it on the prepared ½ sheet pan. Continue to do this with the remaining strips. Give the snails about ½ inch space between them. Once you have all the Danish pastries made up, cover the pans with a tea towel to proof. It’s very important that you don’t rush the proof time. It should take up to 2 hours for them to proof fully. This will ensure fluffy flavorful Danish pastries.
Once they have fully proofed and feel very soft to the touch, egg wash them. Preheat the oven to 375°F. Right before they go in the oven, egg wash again. Bake them for about 20 minutes. They will take on a lot of color. On your first batch, you may be tempted to take them out before they color fully. Push to get a bit more color. When they come out of the oven, give them a few minutes rest on the pan. You can put the pan on a wire rack. While they are still warm, brush them with the honey glaze. It will look like not much glaze is on the pastry. That is good. After they have cooled fully, drizzle the flat icing over the pastries.
This can be a long project. I know it’s a lot of steps but well worth your time. You will find yourself craving homemade Danish. Feel free to contact me if you want some more pointers on them.
Happy baking!
Chef Tom


